Tips & Advice
How To Safely Remove Your Screen Protector At Home
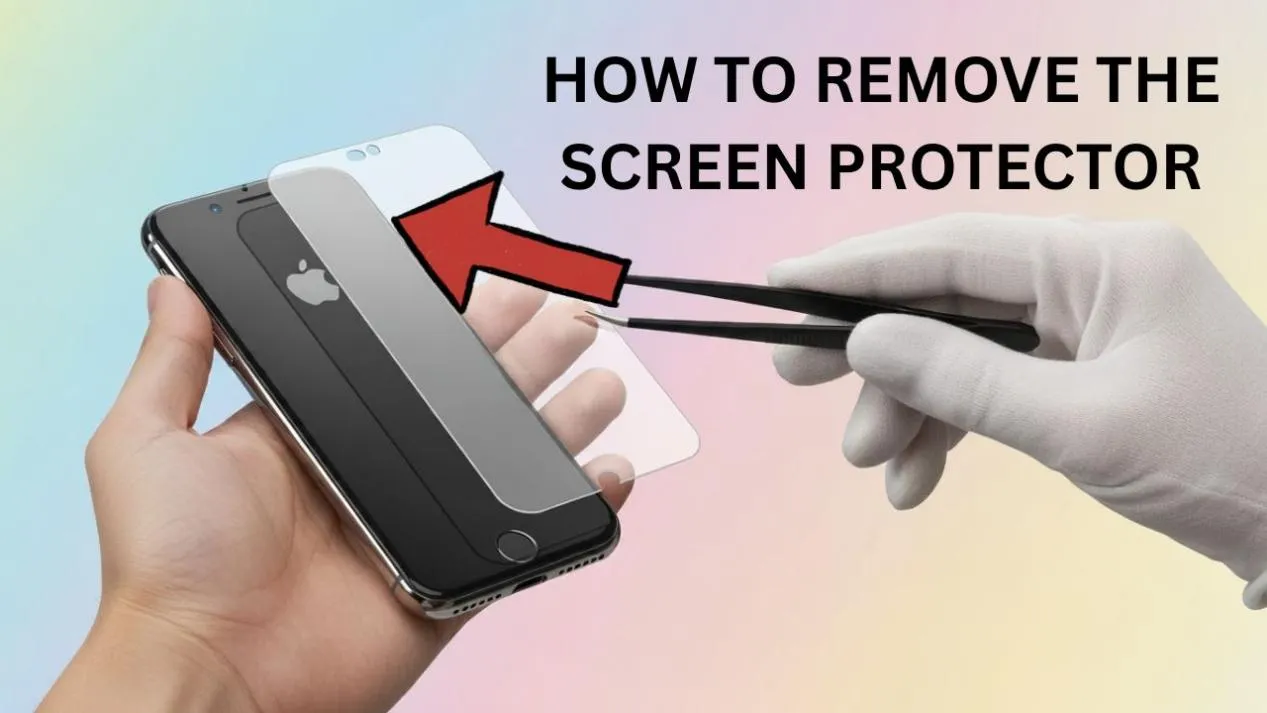
Proper removal technique prevents fingerprints, bubbles and adhesive residue, enabling you to replace old protectors while maintaining a perfectly clean display.
Before starting, collect: a plastic card (credit card size), a microfibre cloth, isopropyl alcohol (70%+), an optional heat source (hair dryer on low), and a strip of adhesive tape.
Hydrogel or PET films are flexible and can be gently lifted from one corner and peeled off slowly. Tempered glass requires heat application to soften the adhesive. Textured protectors need careful handling to avoid marking the screen.
Start by lifting one corner using your fingernail or a piece of adhesive tape. Keep the motion smooth and at a low angle — never pull upward at 90°. If resistance is high, apply 10–15 seconds on low heat from a hair dryer to soften the adhesive.
Use isopropyl alcohol on a microfibre cloth to dissolve any remaining adhesive. Avoid harsh cleaners or paper towels that might scratch the display.
Cover cracked protectors with transparent tape before removal to prevent glass scatter. Dispose of any fragments carefully and clean the screen thoroughly before applying a replacement.
Clean under good lighting, wash your hands, and work in a low-dust environment. Purcell's protectors feature refined adhesive technology — strong adhesion without residue, anti-static surfaces and flexible durability.
← Back to News